For Rock's birthday I wanted to make him a bow tie. Next time I'd do it a little different but it served its purpose.

Cut out a square. Pinch at middle (like a bow tie) and decide if it fits boys stature (if not, trim). At this point, I would have made a 1 inch cut right in the middle of ONE square, then sewn all squares together. After sewing I could have turned fabric inside out through that 1 inch opening, and tada!

I didn't follow the above instructions-- instead I sewed three sides, turned inside out, cuffed non-sewn side (so raw fabric won't be seen), then sewed. You should have yourself a little rectangle! Sorry no picture for this step :(


(flipping inside-out)

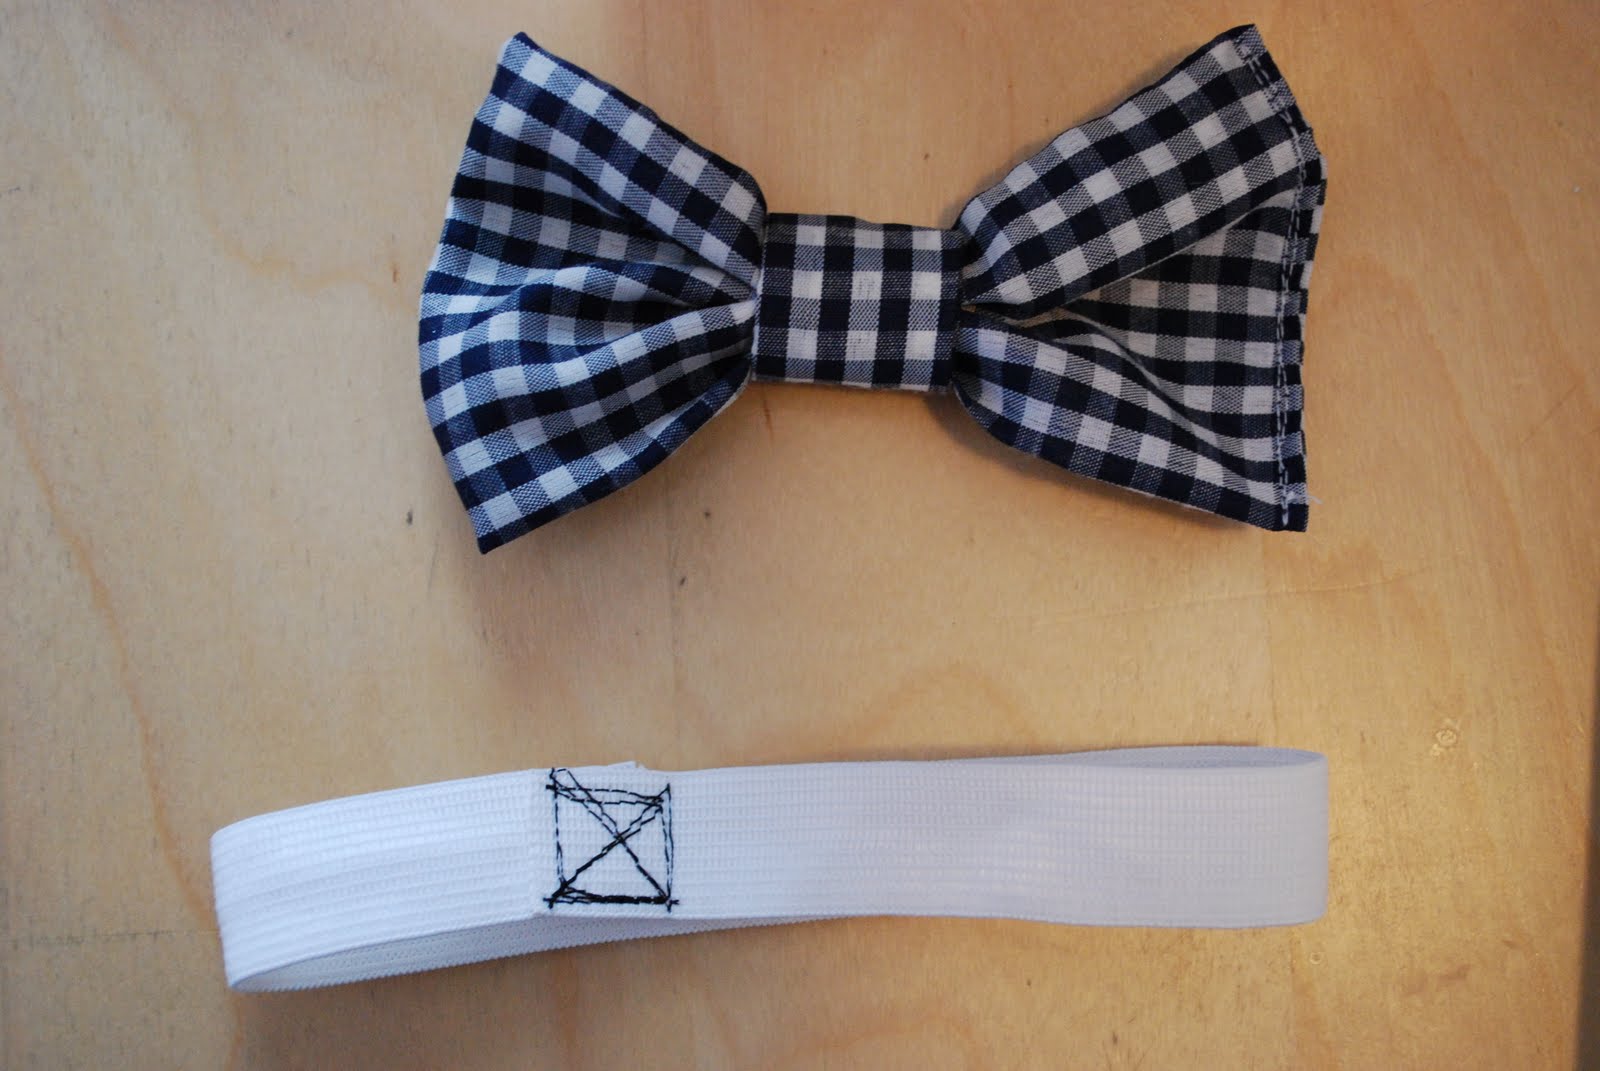
put them together to test

Cut an elastic band that fits, then sew together. I burnt my elastic ends so it won't unravel.


Finished product! I also made my girls little bow ties for their hair.


hooray for quick & easy projects! :)
ReplyDelete